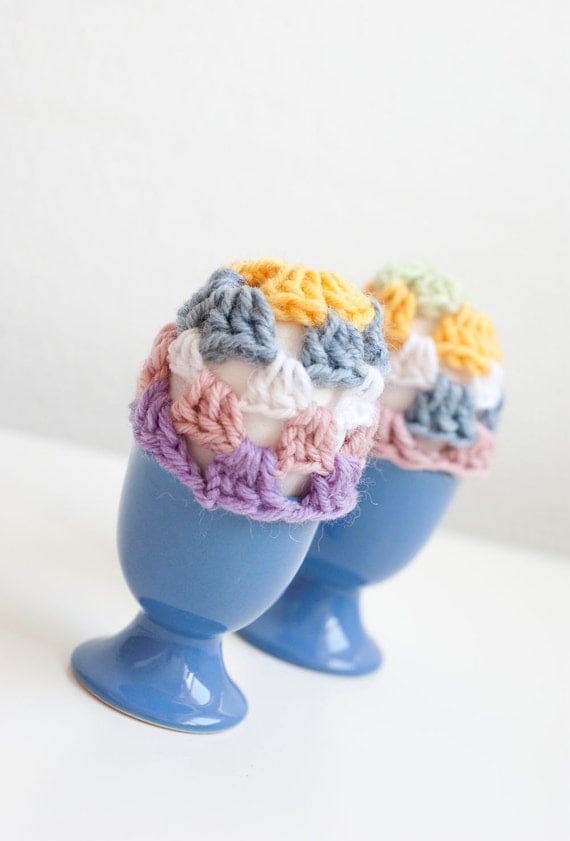
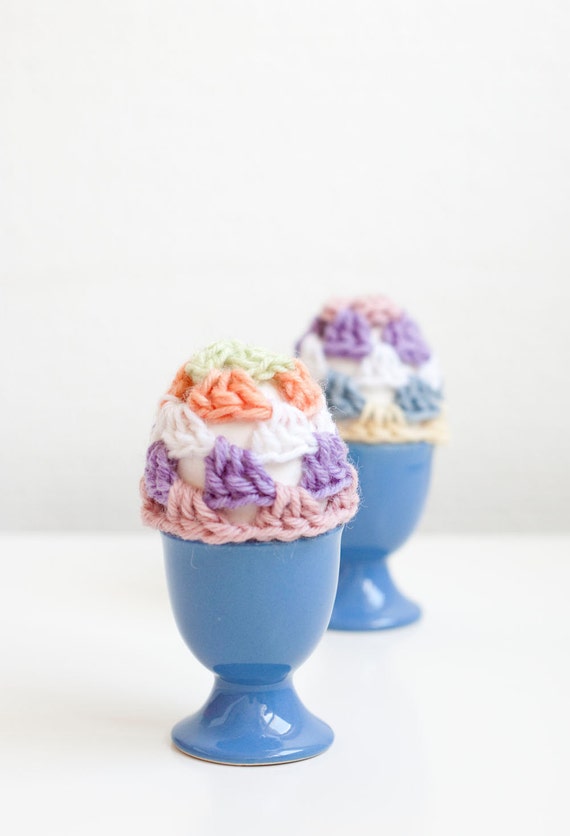
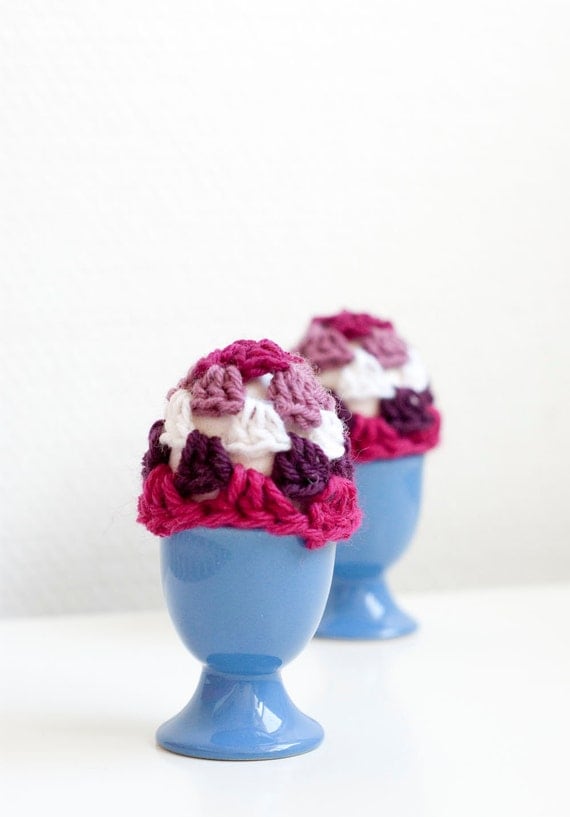
Showing posts with label Free patterns and tutorials. Show all posts

Sunday, December 16, 2012

Free pattern: Easy crocheted poinsettia flowers


Still some time left to Christmas. And you always have time to crochet small decorations for the Christmas tree. Or why not use them as wrapping decoration?

You need:
-red or white cotton yarn
-crochet hook (I used size 3,5mm but use what is appropriate for the yarn you use)
-scissors
-needle

Picot: The picot stitch is basically a chain of 3 where you sl st in the first ch of the 3chain. Here is a tutorial with pictures on how to make a picot.

ch6 join with a sl st in first ch to form a ring
Round 1: ch2, in the ring 2hdc, ch1 [3hdc, ch1] repeat 3 more times. Join with sl st in second ch in the beginning of the round. Don't turn. Sl st 2 and sl st in the hole between the 3hds groups.
Round 2: ch2, 2hdc in the same space as the last sl st from last round, ch2, 3hdc in the same space [in next space 3hdc, ch2, 3hdc in the same space] repeat 3 more times. Sl st 2 and sl st in the hole in between the 3hdc groups (pointy part of the poinsettia)
Round 3: ch3, 2dc, picot, 3dc in the same space, sc 1 in next space [ in next space, 3dc, picot, 3dc in the same space, sc 1 in next space] repeat three more times. End with a sl st.

Weave in ends and attach a ribbon or a piece of yarn to hang your poinsettia from.

Saturday, December 1, 2012

Crocheted Christmas Ornaments Baubles - Free pattern


Super easy and fast crocheted baubles.Great way to use that ever accumulating scrap yarn.
You'll need:
*compressed cotton balls or polystyrene balls 5cm in size.
*yarn scarps
*3mm crochet hook.

Color patterns and changes are not written in the pattern.
  
Ch 2
Rnd 1: sc 6 in second ch from hook (6sts)
Rnd 2: 2sc in each st around (12sts)
Rnd 3: *sc 1, 2 sc in next st* repeat around (18sts)
Rnd 4: *sc 2, 2 sc in next st* repeat around (24sts) 
Rnd 5: *sc 3, 2 sc in next st* repeat around (30sts)
Rnd 6-11: sc30 (30sts)
Rnd 12: *dec 1, sc 3* repeat around (24sts)
Insert your polystyrene ball at this point.
Rnd 13: *dec 1, sc 2* repeat around (18sts)
Rnd 14: *dec 1, sc 1* repeat around (12sts)
Rnd 15: *dec 1* repeat around (6sts)
Sew the hole shut, weave in ends and attach yarn to hang the bauble in.


Saturday, May 5, 2012

Free pattern: Amigumi toadstool

This is an old pattern that I also have on my old blog (in Swedish), you'll find it here. Here is the English version.

You'll need:
Crochet hook EUR:3,5mm, US: E/4, UK:9
Red yarn 
White yarn
7-8 white buttons
Needle
Poly-fil
Embroidery floss
Sewing thread

Chubby mushroom
With red
ch 2
Rnd 1: sc6 in second ch from hook (6sts)
Rnd 2: 2sc in each st around (12sts)
Rnd 3: *sc 1, 2sc in next st* repeat around (18sts)
Rnd 4: *sc 2, 2sc in next st* repeat around (24sts)
Rnd 5: *sc 3, 2sc in next st* repeat around (30sts)
Rnd 6: *sc 4, 2sc in next st* repeat around (36sts)
 Rnd 7-10: sc 36 (36sts)
Rnd 11: *dec 1, sc4* repeat around (30sts)
Rnd 12: *dec 1, sc3* repeat around (24sts)
Rnd 13: *dec 1, sc2* repeat around (18sts)

Change to white!
Remember to stuff your mushroom as you work!

Rnd 14: *dec 1, sc1* repeat around* (12sts)
Rnd 15: sc12 (12sts)
Rnd 16: *sc 1, 2sc in next st* repeat around (18sts)
Rnd 17: sc 18 (18sts)
Rnd 18: *sc 2, 2sc in next st* repeat around (24sts)
Rnd 19-22: sc 24 (24sts)
Now is the time to insert safety eyes if you are using them.
Rnd 23: *dec 1, sc2* repeat around (18sts)
Rnd 24: *dec 1, sc1* repeat around* (12sts)
Rnd 25: *dec 1* repeat around (6sts)
Sew the hole, embroider mouth and sew on the buttons to the mushroom.

 Skinny mushroom
same us the chubby one until round 14.
Rnd 15-23: sc 12 (12sts)
Rnd 24: *dec 1* repeat around (6sts)

COPYRIGHT: Feel free to share the link to this pattern, borrow my pictures (with a link to the source!), make mushrooms for friends and family. You may also sell your finished mushrooms (small scale only!) if you want as long as you put a link or write on the price tag where the pattern can be found! Do not post this pattern or parts of it on you own blog! Links are fine though. If you want to translate it to any other languages please ask me for permission! Have fun crocheting and please respect me as a designer. Thanks!

Thursday, March 15, 2012

Free pattern: Granny styled egg cozies

Easter coming up soon! I made another attempt to reduce the amount of scrap yarn I have. The result is a sweet, super fast and easy egg cozy granny square styled!


You'll need:
-scrap yarn, worsted weight
- crochet hook 4,5mm / US 7 (H or G will work fine too!)
-needle
Change yarn every round if you want your cozy to have stripes in five different colors.

Round 1: ch4, sl st in first to join.
Round 2: dcs will be made into the center of the ring! ch 3, dc2, ch1, *dc3, ch1* repeat 2 more times end with a slst in third ch from beginning of the round (4dc clusters).
Round 3: work in the spaces between the clusters! In first space ch 3, dc2, ch1 in second space (dc3, ch1, dc3, ch1), in third space dc3, ch1, in fourth space (dc3, ch1, dc3, ch1) end with a slst in third ch from beginning of the round (6dc clusters)
Round 4: ch 3, dc2, ch1, *dc3, ch1* repeat 4 more times end with a slst in third ch from beginning of the round (6dc clusters)
Round 5: ch 3, dc2, ch1, *dc3, ch1* repeat 4 more times end with a slst in third ch from beginning of the round (6dc clusters)

Weave in ends and your granny styled egg cozy is ready!